Are you lucky enough to have an iPad 2? My hubby surprised me with one, and I had the first generation one! I loved my first iPad and I just recently had purchased a keyboard/case for it and now none of it fit. The new iPad came with a 'smart cover', but it seemed like it was still a little exposed and unsafe. I wanted to make a case for it, but didn't have a lot of time.
Walking through Kohl's the other day, I spotted a placemat and I immediately thought it would make a great case--nice and springy. And it was on sale for $2.00!
It only took me 20 minutes and that's even with a minor revision I made. I wrote up this little tutorial in case you were interested in making one too.
20 minute iPad case tutorial
Supplies needed: one (1) placemat, preferably with with fringe
Metal measuring tape (from the Dollar Tree)
cheap scissors
painter's tape or masking tape
sewing machine with thread to match placemat
1. To create casing: with placemat laying face down, fold over each fringed edge 1 1/4"
2. Pin and stitch close to edge.
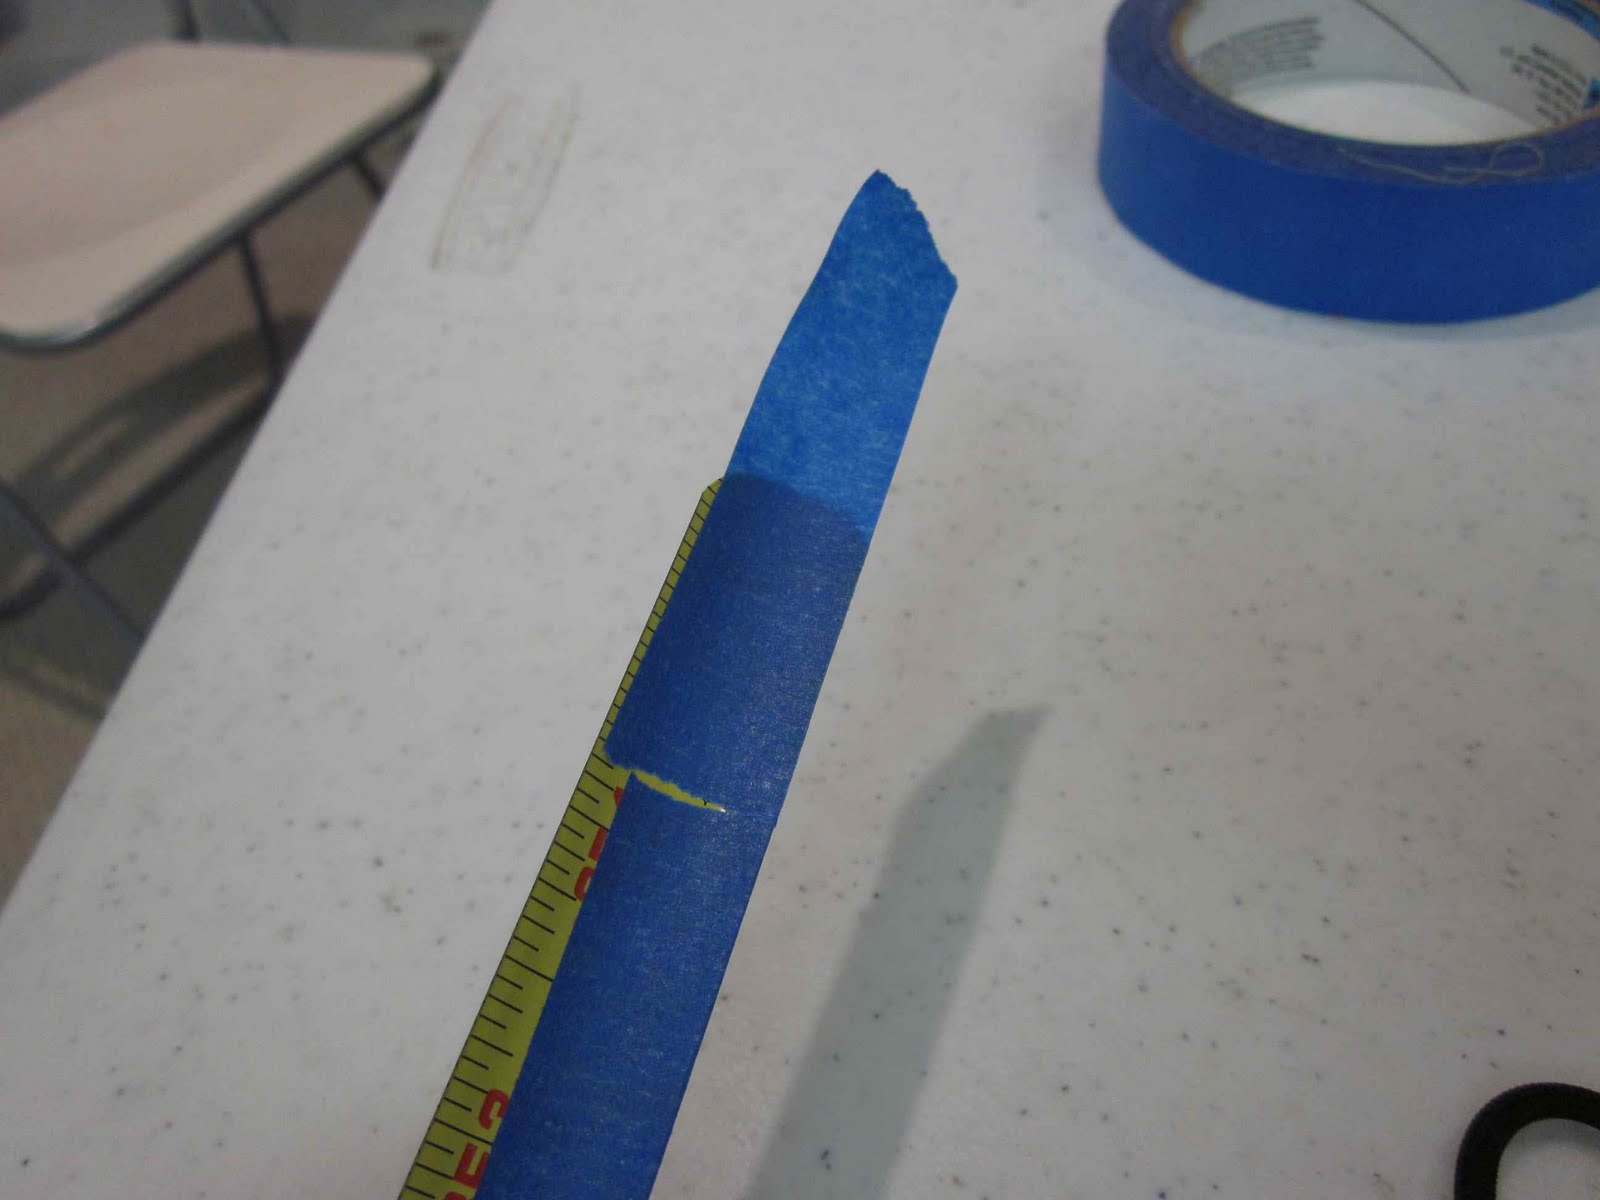
3. measure the width of the placemat and cut a piece of your metal measuring tape 1 1/2" smaller than that measurement. Cut a total of 4. ***
(see my edited note below--you may want to cut down the placemat at this time)
TIP: make sure to LOCK the tape when you cut it because you no longer have the 'stop' thingy on it. You might have to disassemble the tape measure if you don't, just sayin'.
4. Round the corners on each cut edge to prevent the sharp edges cutting through the fabric.
TIP: make sure when you round the edges to do it slow and smoothly, catching the little bits that you cut off. If they land on the floor...they are VERY sharp and have been known to go into your foot!
5. Tape two of the cut pieces together to give it more strength. Make sure to cover the cut ends with tape, as the ends are still sharp and can wear on the fabric otherwise. Make 2 sets.
6. Insert one set of taped units inside the casing, making sure the numbers face the inside of the bag. If you don't put them in the right way, the bag will not 'snap'. Repeat for other side.
7. Fold the placemat in half, wrong sides together. (Yes, I know this seems odd, but the placemat I had was a little thick and sewing it right sides together and turning inside out would have made it really bulky.) Pin the side edges. Make sure the measuring tape is not in the way of the seam allowance. Stitch with matching thread close to the edge, back stitching at the top and bottom. Stitch again for added strength. Do both sides. I only used a straight stitch as the edges were already finished.
8. You are done!! Now, wasn't that quick?
Two weeks later.....
9. Although I knew when I was making this case, it was a little long, but I thought it would make room for the cord or something extra, but I just didn't like it. The reason I made it that long was because the edges of the placemat were finished and I didn't have to do anything extra to them.
But I decided it was worth cutting the extra off and stitching with a zig zag to finish the edges. I used a matching thread, so it really doesn't stand out too much and I like the size MUCH better.
see left side stitching? nope, didn't think so!

Here is what I did:
I cut the placemat bag 2" longer than the iPad, being very careful when cutting through the measuring tape.
Remove the measuring tape, recut it to a size that is 1 1/2" less than the width of the cut bag. Round the new cut edges and re-tape. Sew up the cut edge with a zig zag stitch and repeat.


.jpeg)


